
Alright, we’ve had enough back-end work on our Twitter Clone. Let’s switch gears and get to work on the front end. I’ve decided I’m going to use a Java micro framework for my front end, but if your language of choice is Ruby, Python, Go, or whatever, find an alternative library and follow along.
I want to be fully honest and admit that I’m not much of a front end developer.
I ended up finding a series on youtube on building your own Twitter clone, from Andrew Hoffman and decided to borrow the css and styling with a small update since I’ll be using the latest Twitter Bootstrap framework.
We’re going to be using Jooby once again. I gave you an introduction to this framework on a previous blog post when we started out building our own multi model Database. If you want to follow along, open up the source code on github on another tab and flip back and forth.

Jooby makes it really easy to get started, you can create a project using a Maven Archetype and it will produce a skeleton application for you that just says Hello:
public class App extends Jooby { // 1.

  {
    // 2. add a route
    get("/", () -> "Hello");
  }

  public static void main(String[] args) {
    // 3. run my app
    run(App::new, args);
  }
}
Not a bad start, but we need to add a few things. In development mode it is very useful to add the Whoops module so we can see where we screwed up. I’m also going to be doing a ton of JSON, so I’ll grab Jackson, and for my template engine I am experimenting with a new one called Rocker by Fizzed because it has ridiculous performance claims and I’m a sucker for high speed libraries ( ~250% faster than Freemarker while also requiring orders-of-magnitude less memory). The “by” at the end is the standard for Joo”by” plugins. If we were to build one for Neo4j, it would be “Neo4jby”.
      // Debug friendly error messages
      on("dev", () -> use(new Whoops()));

      // Configure Jackson
      use(new Jackson().doWith(mapper -> {
          mapper.setTimeZone(TimeZone.getTimeZone("UTC"));
      }));

      // Setup Template Engine
      use(new Rockerby());
We need more than just “Hello”, so we’ll replace that with a call to the index page, and then go build one.
get("/", index::template);
I’ll spare you the html code, but this is what it ends up looking like more or less:
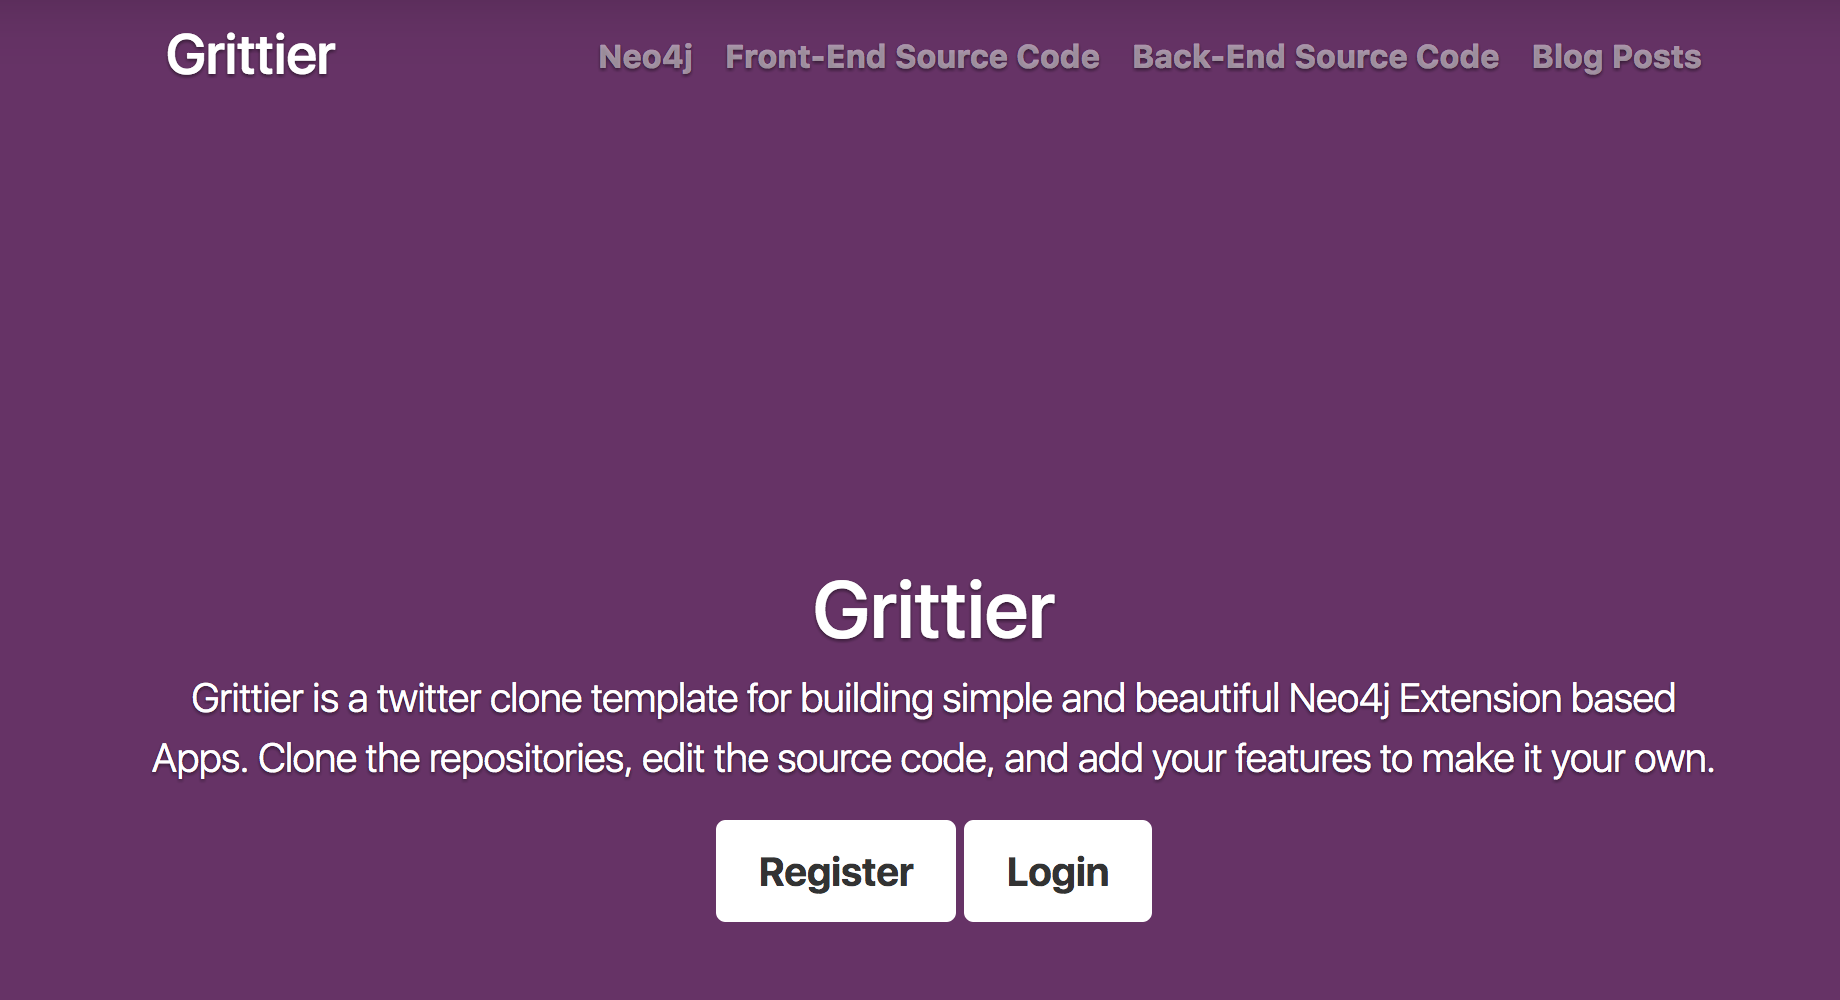
I’ve added a Register and Login button. Since we need an account before we can log on to the system, let’s start there with a new route:
get("/register", register::template);
…and a new user page which ended up looking like:
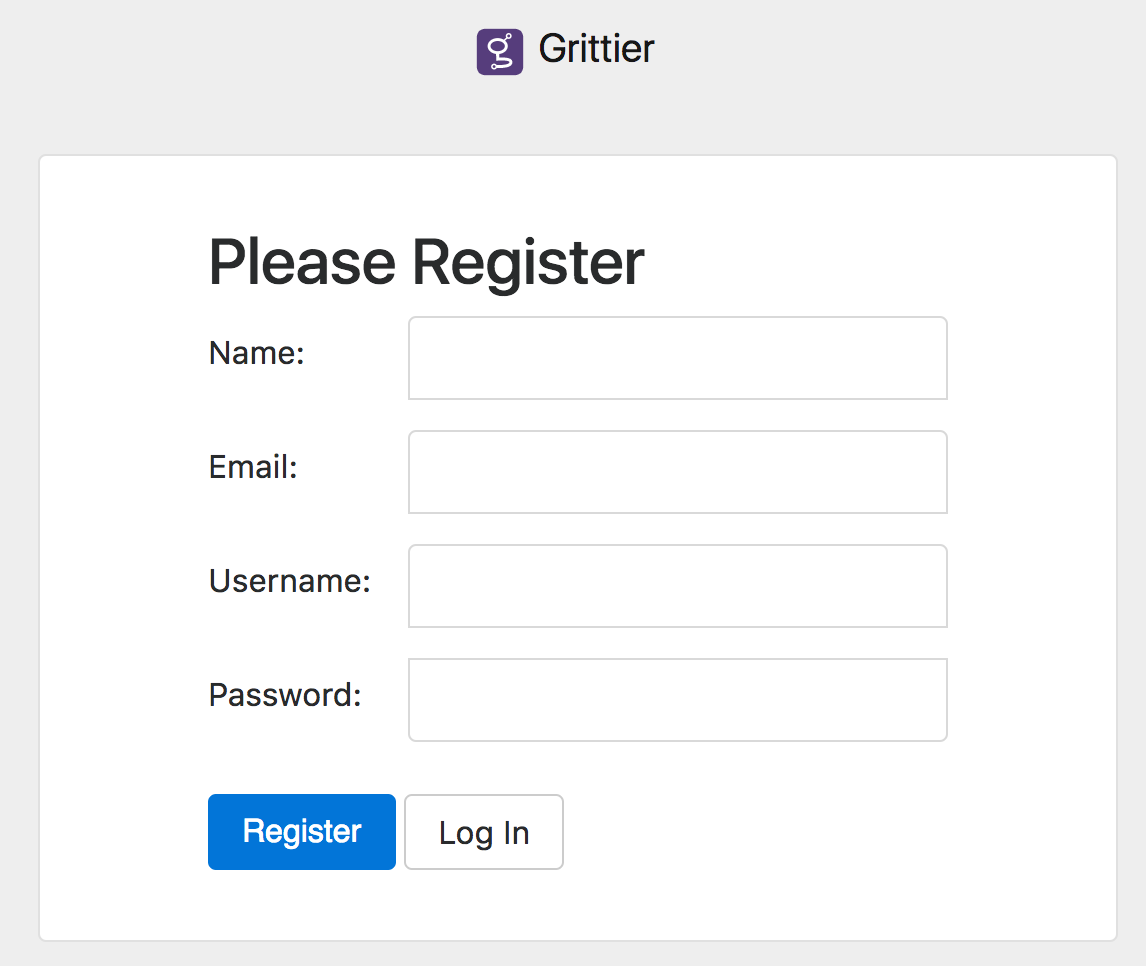
When the user clicks on the Register button we need to capture the input fields of the form and submit them to our Grittier service. Let’s add a User model to our project.
@Data
public class User {
    private String username;
    private String name;
    private String email;
    private String password;
    private String hash;
    private Long time;
}
See that @Data annotation on top of User? I’m using Lombok to make my life easier and auto-magically create methods so we don’t have to.
To access the Unmanaged Extension code we’ve built on top of Neo4j, we’re going to need an HTTP Client. I looked around at various options and decided on Retrofit from Square. It’s not just a client, it really helps keep things organized and sane. The way it works is that we specify an interface for our Neo4j service with the paths, parameters and expected results. This is what that looks like for Grittier:
public interface GrittierService {

    @GET("users/{username}")
    Call<User> getUser(@Path("username") String username);

    @GET("users/{username}/profile")
    Call<User> getProfile(@Path("username") String username, @Query("username2") String username2);

    @POST("users")
    Call<User> createUser(@Body User user);

    @GET("users/{username}/followers")
    Call<List<User>> getFollowers(@Path("username") String username);
    ...
In order to use it in our code, we need to create a new service, but before we can do that we need to grab the username/password for Neo4j as well as the url of the server and wire it all together when our application starts:
       Config conf = require(Config.class);

          // Define the interceptor, add authentication headers
          String credentials = Credentials.basic(conf.getString("neo4j.username"), conf.getString("neo4j.password"));
          Interceptor interceptor = chain -> {
              Request newRequest = chain.request().newBuilder().addHeader("Authorization", credentials).build();
              return chain.proceed(newRequest);
          };

          // Add the interceptor to OkHttpClient
          OkHttpClient.Builder builder = new OkHttpClient.Builder();
          builder.interceptors().add(interceptor);
          OkHttpClient client = builder.build();

          Retrofit retrofit = new Retrofit.Builder()
                  .client(client)
                  .baseUrl("http://" + conf.getString("neo4j.url") + conf.getString("neo4j.prefix") +  "/")
                  .addConverterFactory(JacksonConverterFactory.create())
                  .build();

          service = retrofit.create(GrittierService.class);
Yes, that is a little messy, but it will make our life easier later on. Now back to the Registration form, when the user fills out the form and clicks on the magic “Register” button, the form is submitted and it gets processed in Jooby. The plain text password from the form can’t stay unencrypted, so let’s grab the BCrypt library and add it to our project, we’ll use this to secure the password:
    <dependency>
      <groupId>org.mindrot</groupId>
      <artifactId>jbcrypt</artifactId>
      <version>0.4</version>
    </dependency>
Here we create a user from the form parameters using the User class, set the password to a legitimate password and call our grittier service to create the user.
      post("/register", (req, rsp) -> {
          User user = req.form(User.class);
          user.setPassword(BCrypt.hashpw(user.getPassword(), BCrypt.gensalt()));
          Response<User> response = service.createUser(user).execute();
          if (response.isSuccessful()) {
              Results.redirect("/login");
          } else {
              throw new Err(Status.CONFLICT, "There was a problem with your registration.");
          }
      });
If we take a look at the nodes in our Graph Database now, we can see our newly created node and its properties:
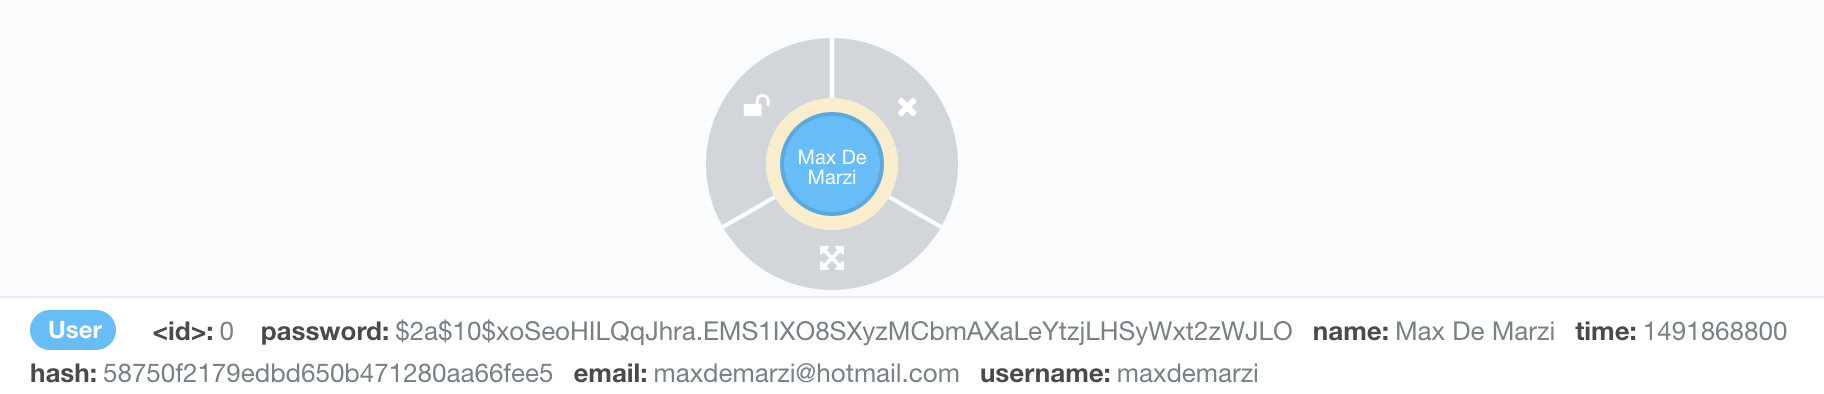
If we stored the plain text password, we’d see “swordfish” in the password property, instead we see an encrypted string. We now need to build functionality to allow our newly created user to login. First we need a login route,
get("/login", login::template);
…and a new template.

To handle security we will be using the Pac4j module for Jooby. We can use the Jooby “use” method, but we will need to write our own custom Authenticator.
use(new Auth().form("*", ServiceAuthenticator.class));
We need to override the validate method and have it use the Grittier service. We request the credentials of the user and use BCrypt.checkpw to make sure they match. If they do match, then we set the user profile in the session.
public class ServiceAuthenticator implements Authenticator<UsernamePasswordCredentials> {
    private static final Logger logger = LoggerFactory.getLogger(ServiceAuthenticator.class);

    @Override
    public void validate(UsernamePasswordCredentials credentials, WebContext webContext) throws HttpAction {
        Response<User> response;
        try {
            response = service.getUser(username).execute();
            User user = response.body();
            if (!BCrypt.checkpw(credentials.getPassword(), user.getPassword())){
                String message = "Bad credentials for: " + username;
                logger.error(message);
                throw new BadCredentialsException(message);
            } else {
                CommonProfile profile = new CommonProfile();
                profile.setId(username);
                profile.addAttribute("name", user.getName());
                profile.addAttribute("email", user.getEmail());
                credentials.setUserProfile(profile);
            }
        } catch (IOException e) {
            String message = "No account found for: " + username;
            logger.error(message);
            throw new AccountNotFoundException(message);
        }
    }
There is a variable in the Jooby config file on /conf/application.conf we need to set which tells Jooby where to redirect the user after a successful login attempt. In our case we’ll send them to the home page.
auth.login.redirectTo = "/home"
Any route that is under the use(new Auth()…) method will be authenticated. To make sure it worked, we’ll add a route, grab the id from the session and say hello:
get("/home", req -> { return "Hello " + req.session().get(Auth.ID).value();} );
…and it works. We can now register and login with our user. We have wired up our framework and Grittier service, stay tuned for more updates in the near future. On to part 8.

[…] The source code is on github. I didn’t have space and time to show you all the tests for these methods, but you can find them in the test folder of the code. Even managed to maintain almost 95% test code coverage. We’re going to take a little break, do a few other things and then start with the front end of our Twitter clone. Stay tuned for more blog posts soon. On to part 7. […]